i tried book binding
One of my toxic traits is that, once I put my mind to it, I think I can do anything. This includes, and is not limited to, crafts I have never touched or even seen before, games I have never played, and classes that I have no expertise in. I’m not always right in guessing my skill level in these things (more times than not, I crash and burn immediately and am forced to face the reality that no, I cannot crochet), but that never stops me from trying it in the first place.
Lately, I have been obsessed with the idea of trying my hand at book-binding, and for once, I might have some minimal qualifications. They are as follows:
- I read a lot as a kid. Specifically, I read many children’s books from our local library that were not well taken care of, which meant that I could peer down the spine and examine the binding, pick at the covers, and spread the pages far enough until I could see the stitching. So if you really think about it, I’ve known the general anatomy of a book since I was around four years old.
- I’m currently taking 21H.343, or “Making Books: The Renaissance and Today”. That means that I’ve tried my hand at printing using a printing press and examining old books and incunabula. I’ve learned the basics of how books are made and what components they are made of, which will definitely help in this journey.
- I said so.
So, with all that I said, here is a recounting of my book-binding journey.
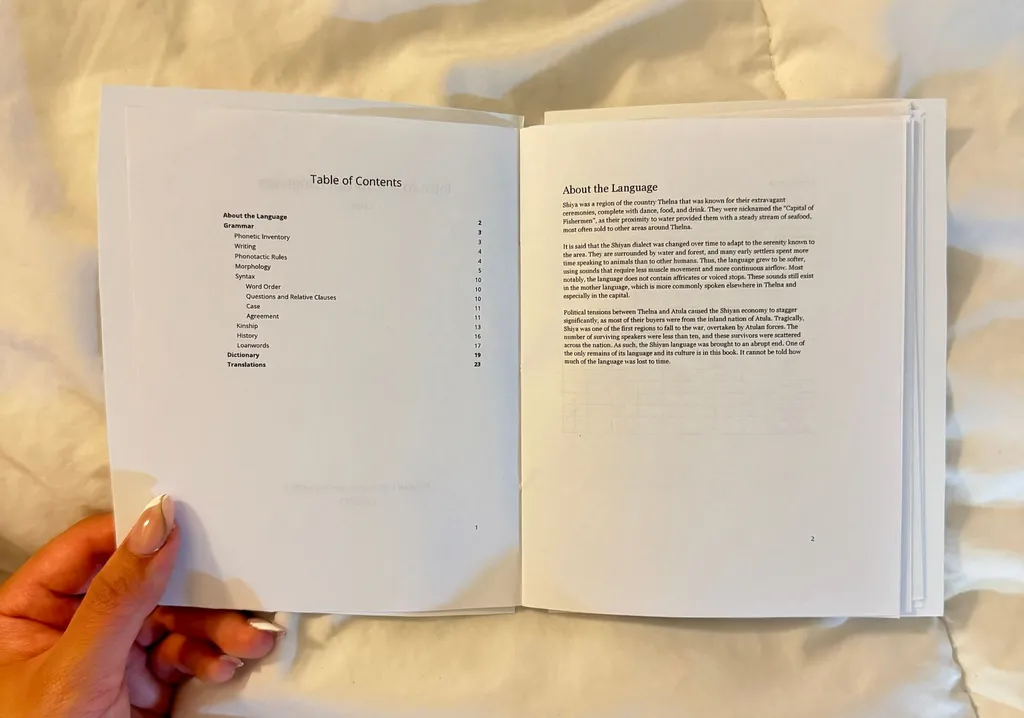
I decided to bind a final project that I did senior fall for the class 24.917 (Conlangs: How to Construct a Language). As the name of the class suggests, I had to create a language from scratch for my project, including its phonetics, grammar, and syntax. It was one of my favorite classes at MIT, partially because of how much freedom there was and partially because of how much I learned, and I loved it so much that I decided to use the language I created in my NaNoWriMo ‘23 novel. And since this novel (and thus the language as well) is still very much under construction, this 27-page paper sounds like a great option to print.
In terms of page size, there are a couple of options. The most common ones are folio (f°), quarto (4°) and octavo (8°). Basically, folio means that we fold a piece of paper once before printing, so each paper will give us four pages overall. Quarto means we fold twice, so we get 8 pages. Finally, octavo means we fold three times, so we get 16 pages. Of course, the more we fold, the smaller the page sizes will be. I wanted the book to be small (and to save paper), but not too small, so I decided to go with the quarto format. Each piece of paper will give me 8 pages. Unfortunately, 27 is most definitely not a multiple of 8, so I’ll have some extra pages at the end that I’ll either have to cut off or use as blanks.

Maybe the most annoying part of this process was figuring out how to get these pages to be print in the correct location and orientation on the page. As the image from Wikipedia shows, getting the pages in the correct order for when we start folding and cutting means printing pages 1-8 on different sides AND printing some upside down. There are some options online for organizing your pages in preparation for printing, but what’s the point of taking on a project like this if I’m not going to do it all by myself? Besides, I’m a computer science major, so something like this should be easy to code up (refer to the first sentence of this post).
There were a few things I wanted my code to include: choosing a format (folio, quarto, or octavo), how many leaves per gathering (AKA, how many pages should be folded on top of each other before sewing them together), and if I would like extra pages at the front and back. The reasoning for the extra pages is because (at this point in the planning process), I think I could use the extra pages to attach the inner gatherings (pages) to the cover of the book. The existing site I linked above has many, many more settings that I may attempt to recreate in a future iteration of this. But given how small my binding project is, I really didn’t need all that.
Anyways, this is how the site turned out:
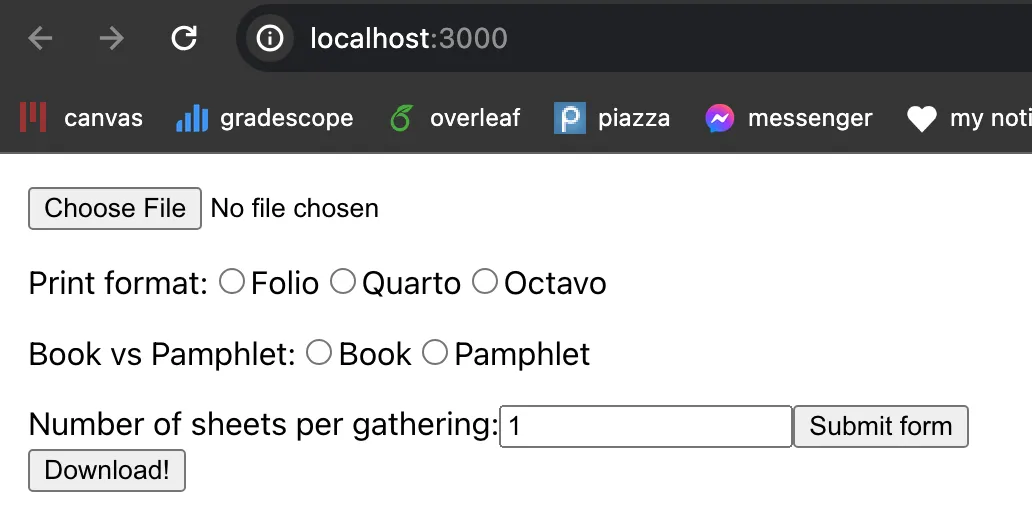
I did not put much (if any) CSS into this <3 (for now). The site is simple; you just upload a file, select the format you want to print it, whether if you want extra pages (pamphlet) or not (book), and how many sheets we want per gathering. As I mentioned before, I decided to go with a quarto book. And since this is such a small project, I decided to keep only one sheet per gathering.
The result of clicking the download button was four sheets of paper, each with 8 pages on it, which I could then fold into the gatherings I needed:
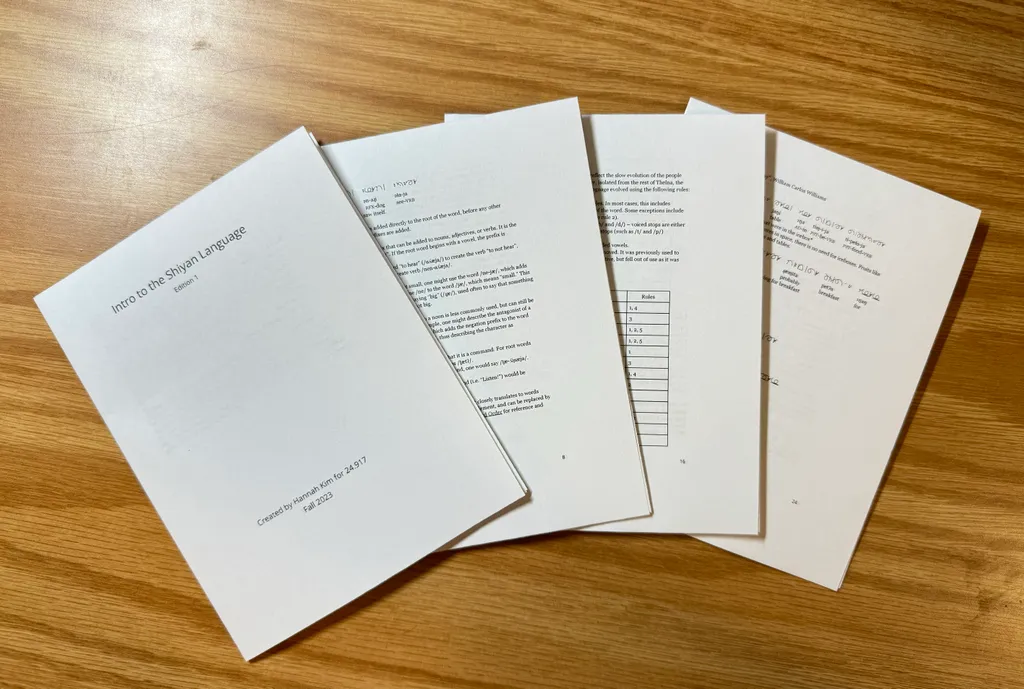
Now, to combine these pages together, I decided to use a coptic stitch (because it was the only stitch I learned to do in my 21H.343 class). To do this, I also made rudimentary front/back covers out of some plain white cardboard, which I cut to be just slightly larger than the individual pages.
Coptic binding takes one gathering at a time and ties them together in a stitch that looks kind of like a braid. It works by piercing holes through the spine (here, the folds in the paper), passing through the spine of the next gathering, then tying them together. It’s easier to use a curved needle and waxed thread to do this, since the needle allows you to get the angle you need to work under previously set knots and the wax keeps the thread closely attached to the paper. Due to a lack of resources, I only had a simple sewing needle and thread to my name, but it wasn’t too much harder to do this.
I forgot to take a picture of the final binding before I made a mistake that utterly ruined this project (explanation coming), but here’s a picture from the Wikipedia page:
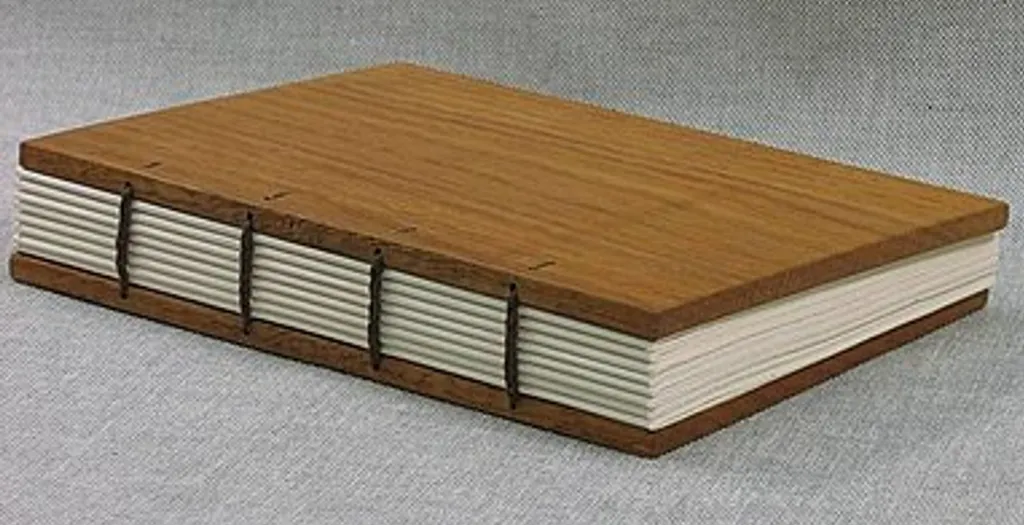
As you can see, the stitches and the binding are visible, which is one of the aesthetic benefits of coptic binding. Unfortunately, I did not really want the bindings to be visible; your typical book doesn’t use a coptic stitch, and thus bindings are hidden behind cloth and wax. I decided to hide the binding by simply cutting a piece of cardstock and gluing to the spine.
At this point, I made a critical mistake. In my attempt to save paper, I tried to get this piece of cardstock from the scraps that I had left over from creating the covers of the book. But there were two main issues: all remaining scraps were too short and/or too narrow. I didn’t have enough surface area to glue the paper down to the spine without creating a ginormous mess on my desk.
After a brutal struggle, I managed to figure something out by taking the widest piece I had, gluing quickly, and then stacking heavy items on top as I waited for the glue to dry. This managed to cover up the evidence of my past attempts (which resulted in ripped or fraying paper) while giving it (almost) the effect I wanted. Here’s the final result:
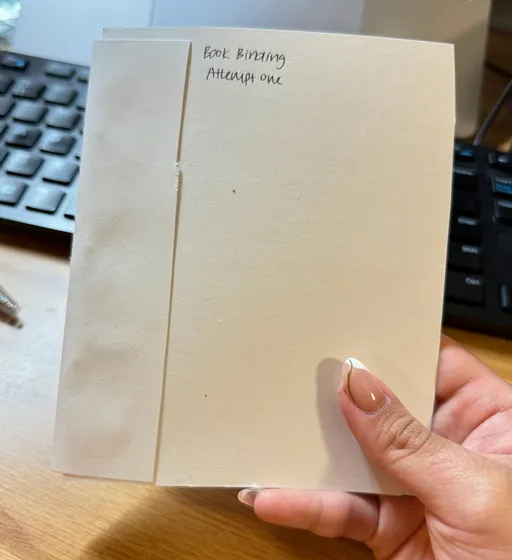
(You can still see the dried glue from previous attempts on the spine, but we can ignore that)
This attempt was far from perfect, but it was an interesting project that really pushed my creative skills. Overall, I kind of like how it turned out! It’s a solid first try, and a good learning opportunity for future attempts 👍